How Do You Lay Out a Photo Gallery Wall
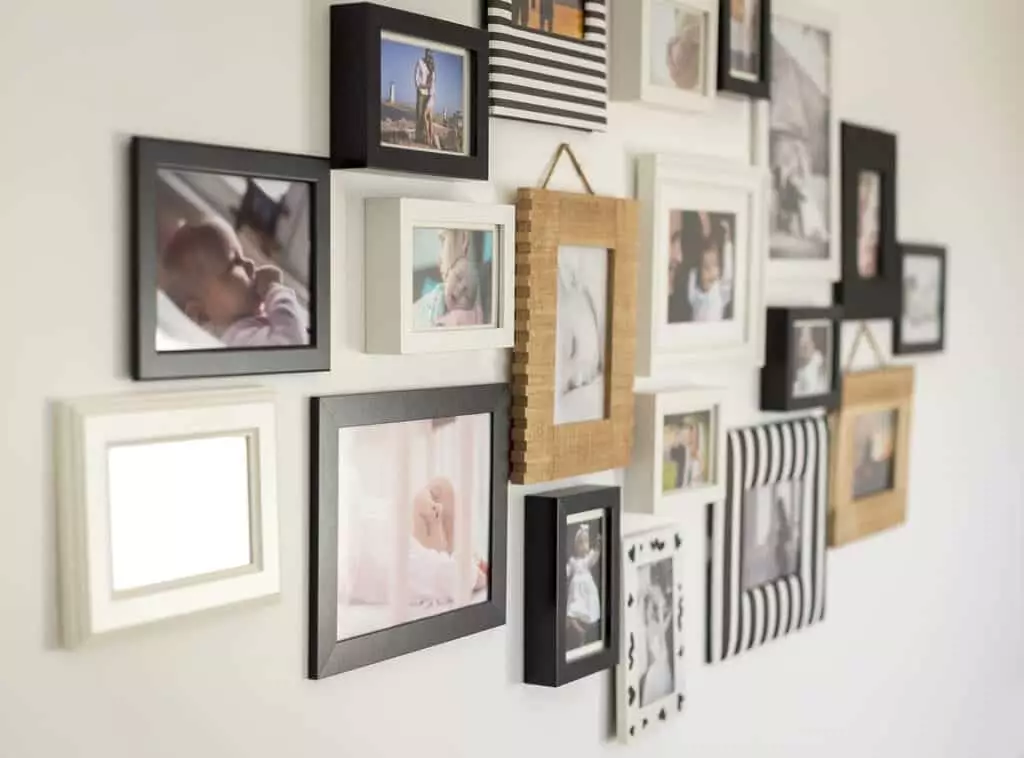
Every wall of your house is like a blank canvas waiting to tell a story – your story. For that matter, a photo gallery wall is a splendid idea. You can showcase those precious moments and memories that you and your family have shared over the years. Or you can create a wall collage of all your favourite prints and arts. Or maybe you can do both.
Nevertheless, we know that every photo gallery wall is, at first, a blank canvas, and a blank canvas can be pretty intimidating to the uninitiated. So, let us walk you through the main steps to creating the perfect wall of pictures in your room.
The Main Principles of a Photo Gallery Wall
A photo gallery wall should be more than just Googling aesthetic pictures for wall collage to print, downloading, printing and then framing them on your wall.
First of all, you need to come up with the main idea for your photo gallery wall. What would you want to be the theme? One way to do this is to pick all the photos and arts that make you feel something. You lay them on the floor and then try to find a theme and structure in all these pictures.
Secondly, you need to decide if you want a gallery wall in the living room, bedroom, dining room, or hallway. It depends on the type of furniture you have, the general decor, of course. For example, you cannot place an indie photo wall just anywhere.
Ideally, you should decide if your photo gallery wall will only contain family pictures and portraits or if it’s going to be a collage of travel pictures. Memorabilia also works, or maybe a gallery wall art? If you cannot decide on a single type, it’s ok, you can create an eclectic wall collage, but that’s more difficult.

Create a Template from Frames
Once you have decided on the style of the pictures/ art prints and the theme of your wall collage, now it is time to design the initial template.
You should start with the frames on the wall. The gallery wall frames are crucial in how the final layout will look like. Experiment with the frames in a linear pattern at first. Then try an intentional random layout. See which one you love best and plan everything in detail.
In case you want to freshen up your ideas on photo frames, check out this guide.
What about the Size of your Photo Gallery Wall?
This is a delicate matter when creating a wall collage. If you don’t get the sizing right, everything will look strange. So, take out your tape measure and make sure that the layout of your photo gallery wall doesn’t take more than four-fifths of the size of the entire wall. Two-thirds and four-fifths represent just the right size.
Framed or Unframed Photo Gallery Wall
Well, you could leave one or two pieces unframed to create a more visually rich template. If you want to be truly bold, you could mix one or two mirrors in there.
How do You Mix Art and Photography For an aesthetic photo wall?
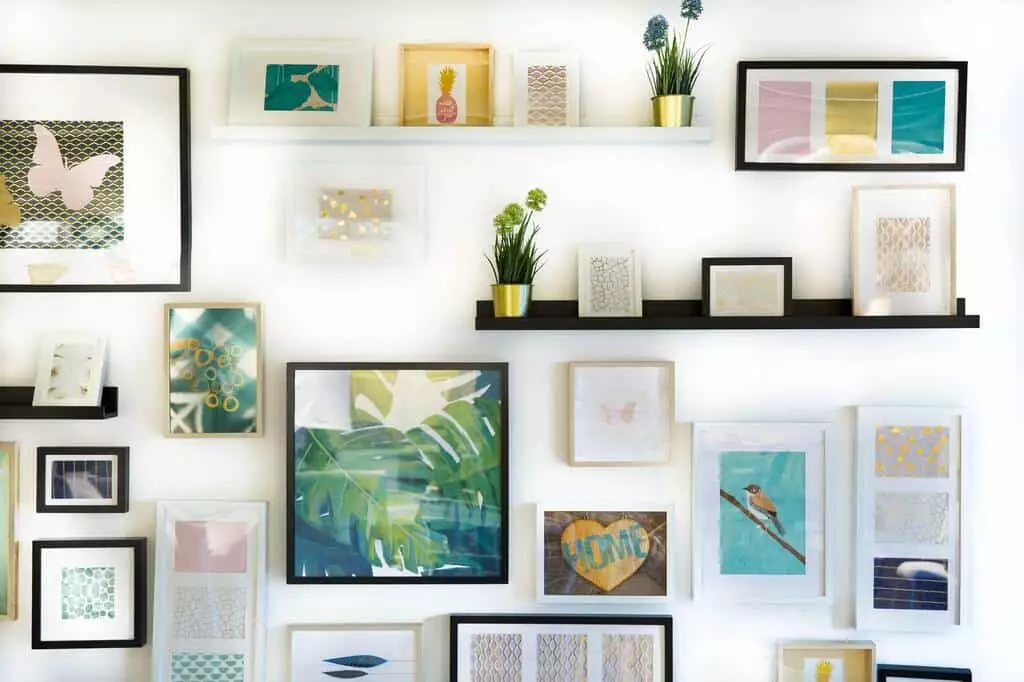
If you’re going for that eclectic aesthetic, then go all the way, and mix ornate frames with classic wooden or polcore photo frames. Buy your favourite Etsy prints and combine them with your own personal photos. Mix and match until you make it look great.
Nevertheless, even in an eclectic design, there is a slight symmetry, a delicate balance. Pieces should complement themselves in size and style.
But, enough with the advice, let’s get to some more practical ideas, suggestions and tips.
10 Ideas of Wall Design with Picture Frames
Are you in need of some gallery wall inspiration? Let’s see!
- Create a reading nook with a comfy chair, a few soft pillows, and a fluffy blanket where you have all your favourite travelling photos together, so you can dream up your next adventure while reading your favourite stories.

- If you decide to let one or two photos frameless, make sure you add some fun borders to the prints
- Transform your collage wall into a fireplace or bookcase photo wall
- Try contrasting mute-coloured pictures with bold black frames
- Play with differently-sized picture mounts for more perspective
- For a different look, make 4-5 big photo collages on your computer, print them and then fit them in big white photo frames that you hang on your photo wall
- Split your favourite artworks across more canvases
- Surround your favourite family photos with abstract art pieces to give your photo wall an aura of mystery
- So, black and white! That’s it, you can never go wrong with a black-and-white gallery wall; just place one or two plants next to it for a little infusion of colour
- Do not hang your pictures on a wall, install a few shelves and display them there; you could go for a pyramid shape

How Do I Group Pictures on My Wall – Step by Step
Ok, so, let’s get down to the actual business of grouping the pictures on your photo wall. Take it easy, step by step, and everything will be great. Your biggest ally in this stage is patience. You know they say it’s one of the greatest virtues?
Step 1 – Trace Your Template
Take a tape, and create the boundaries of your photo gallery wall. Measure the whole layout first, and then note the size of each frame and the size of the spaces between them.
An important aspect is to measure the distance from the floor to your centre photograph. It should be between 60-72 feet from the floor. Don’t place your gallery wall too low. That’s a mistake.
Step 2 – Place your largest picture in the centre
This will offer your gallery wall a certain sense of symmetry and balance. The biggest picture should be in the centre and the smallest photographs on the outside.
Step 3 – Make sure all your pictures are level
Levelling is everything to the harmony of your photo wall. Take a pencil and a string and level everything. Use putty to keep everything in place. Art gallery putty is extremely helpful if you place it at the bottom corners of the photo frames.
Step 4- Reconfigure your gallery wall whenver you want
Your gallery wall shouldn’t be static. You can always switch things around, or swap different artworks with others.
So, make it dynamic, and enjoyable. You should love to look at your photo gallery wall every day.


